 Payment Gateway
 Payment Links
 Payment Pages
 Payment Buttons
 Invoice
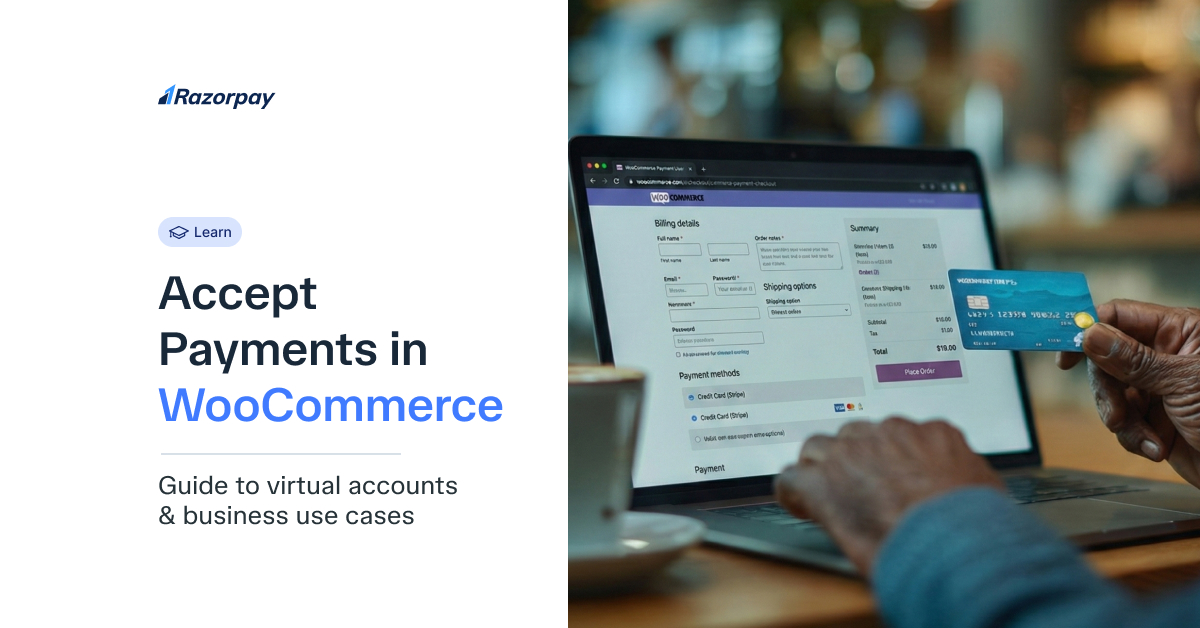
You’ve chosen the powerful and flexible combination of WordPress and WooCommerce to build your online store. Your products are listed, your design is perfect, and you’re ready to start selling to the Malaysian market. The final and most critical step is to set up a system to accept online payments.
WooCommerce, by itself, cannot process payments. It needs to be connected to a payment gateway—the technology that securely handles transactions between your customer, their bank, and your business account. For Malaysian merchants, choosing and correctly integrating the right gateway is the key to building customer trust and maximizing sales.
This guide provides a clear, step-by-step walkthrough on how to set up a payment gateway in WooCommerce, enabling you to accept all the local payment methods your Malaysian customers prefer.
Key Takeaways
- A Payment Gateway is Essential: WooCommerce requires a payment gateway to process any online transaction. This is a non-negotiable step.
- Local Payment Methods are Crucial: To succeed in Malaysia, your store must accept FPX and DuitNow. These are the most popular and trusted payment methods for Malaysian shoppers.
- Integration is Simple with Plugins: The easiest way to connect a gateway is by using a dedicated WordPress plugin, which requires no coding.
- Security is a Top Priority: Always choose a PCI DSS compliant payment gateway to protect your business from the significant risks of fraud and data breaches.
- A Unified Solution is Best: A modern payment gateway like Razorpay Curlec provides a single plugin to accept all key payment methods, with a unified dashboard to simplify your financial management.
Before You Begin: Choosing the Right Payment Gateway for WooCommerce
Before you start the integration, selecting the right payment gateway partner is your most important decision. For a WooCommerce store in Malaysia, your chosen provider must have:
- Full Support for Malaysian Payment Methods: This includes FPX, DuitNow QR, credit/debit cards, and major e-wallets.
- A Dedicated WooCommerce Plugin: This ensures a simple, reliable, and “no-code” integration process.
- Transparent Pricing: Clear, predictable fees with no hidden costs to protect your margins.
- Robust Security: Full PCI DSS compliance to handle sensitive payment data securely.
A unified payment gateway like Razorpay Curlec is designed specifically for the Malaysian market and provides a powerful, easy-to-use WooCommerce plugin that meets all these criteria.
How to Set Up a Payment Gateway in WooCommerce: A 5-Step Guide
Integrating a modern payment gateway like Razorpay Curlec with your WooCommerce store is a straightforward process.
Step 1: Create Your Razorpay Curlec Account
First, you need an active merchant account with your chosen payment gateway.
- Go to the Razorpay Curlec website and sign up.
- Complete the business verification (KYC) process by submitting your SSM registration and bank details.
- Once approved, you will have access to your live merchant dashboard.
Step 2: Generate Your API Keys from Your Curlec Dashboard
API keys are the secure credentials that create a private link between your WooCommerce store and your payment gateway.
- Log in to your Razorpay Curlec dashboard.
- Navigate to the Settings > API Keys section.
- Generate your unique Key Id and Key Secret. Keep these credentials safe and do not share them publicly.
Step 3: Install the Razorpay Curlec Plugin on Your WordPress Site
The easiest way to integrate is by using the official WordPress plugin.
- Log in to your WordPress Admin dashboard.
- Go to Plugins > Add New.
- In the search bar, type “Razorpay Curlec for WooCommerce” and press Enter.
- Find the official plugin, click “Install Now,” and then “Activate.”
Step 4: Configure the Plugin in WooCommerce Settings
Now you will connect the plugin to your Curlec account using your API keys.
- In your WordPress dashboard, go to WooCommerce > Settings > Payments.
- You will see “Razorpay Curlec” listed as a payment method. Click “Manage.”
- Check the box to “Enable Razorpay Curlec”.
- Carefully copy and paste the Key Id and Key Secret from your Curlec dashboard into the corresponding fields.
- Customize the title and description that customers will see at checkout (e.g., “Pay with FPX, Cards, DuitNow & more”).
- Click “Save changes.”
Step 5: Activate and Run a Test Transaction
Before you launch, it’s crucial to ensure everything is working correctly.
- Go to your live website and add a low-priced test product to your cart.
- Proceed to the checkout page. You should now see the payment option you just configured.
- Complete the purchase using a real payment method (like FPX or a credit card).
- Confirm that the payment is successful, the order is created in your WooCommerce dashboard, and the transaction appears in your Razorpay Curlec dashboard.
Once your test is successful, your store is ready to accept online payments from customers across Malaysia.
Did You Know?
WooCommerce is an open-source platform, which means its code is publicly available for developers to build upon. This has led to a massive ecosystem of over 50,000 plugins (or extensions) that allow you to add almost any feature imaginable to your store, from advanced shipping calculators to sophisticated marketing tools.
Ready to Start Accepting Payments on Your WooCommerce Store?
Don’t let a complicated setup or the wrong payment options limit your sales. Get your store ready for Malaysian customers in minutes.
Learn more about Razorpay Curlec‘s seamless WooCommerce integration.
Conclusion: A Simple Integration for a Powerful Platform
Setting up a payment gateway is the final, essential step in launching your WooCommerce store. By choosing a partner that is built for the Malaysian market and provides a simple plugin-based integration, you are not just enabling payments; you are building a secure and trustworthy checkout experience for your customers. This creates a strong foundation for your business to grow and succeed in Malaysia’s competitive e-commerce landscape.
Frequently Asked Questions (FAQs) for Malaysian WooCommerce Merchants
Do I need a registered business (SSM) to set up a payment gateway in Malaysia?
Yes. To get a merchant account with a legitimate payment gateway in Malaysia, you are required to have a business registered with the Companies Commission of Malaysia (SSM). This is a standard regulatory requirement for security and verification.
How long does it take for the money from a sale to reach my bank account?
This is known as the settlement time. For most payment gateways in Malaysia, the standard settlement cycle for transactions is T+2, meaning the funds from a sale will be deposited into your business bank account two business days after the transaction.
Do I need to worry about PCI compliance with WooCommerce?
Yes, but a good payment gateway makes it simple. By using a PCI DSS compliant gateway like Razorpay Curlec, the sensitive cardholder data is handled on their secure servers, not yours. This drastically reduces your PCI compliance burden and protects you from liability.
Can I offer recurring payments or subscriptions on WooCommerce?
Yes. WooCommerce is a great platform for subscription-based businesses, but it requires both a subscription management plugin (like WooCommerce Subscriptions) and a payment gateway that supports recurring billing. Razorpay Curlec offers powerful subscription solutions that integrate seamlessly with WooCommerce.
